RabbitMq整合spring
本文详细介绍了如何使用Spring框架与RabbitMQ消息队列进行集成,包括配置中间桥接包、创建监听器、使用RabbitTemplate和RabbitAdmin等关键组件。通过一个具体的Gradle项目实例,演示了从项目搭建、依赖引入、代码编写到运行测试的全过程。
RabbitMq整合spring
文章信息
- 原文链接:https://jiayq.blog.csdn.net/article/details/93843315
- 发布时间:2019-06-27 08:54:05
- 阅读量:454
- 分类:RabbitMQ专栏收录该内容, 订阅专栏
- 标签:#RabbitMQ集成spring, #spring中如何使用RabbitMQ, #spring整合RabbitMQ如何配置, #使用RabbitMQ、spring, #在spring中定制RabbitMQ
摘要
文章浏览阅读454次。本文详细介绍了如何使用Spring框架与RabbitMQ消息队列进行集成,包括配置中间桥接包、创建监听器、使用RabbitTemplate和RabbitAdmin等关键组件。通过一个具体的Gradle项目实例,演示了从项目搭建、依赖引入、代码编写到运行测试的全过程。
RabbitMq整合spring
- 1.中间桥接包
- 2.创建监听
- 3.RabbitTemplate
- 4.RabbitAdmin
- 5.发布
- 6.消费
- 7.实例
- 7.1创建gradle项目
- 7.2增加依赖
- 7.3创建代码目录
- 7.4创建监听类
- 7.5配置beans.xml
- 7.6创建发布
- 7.7启动
- 7.8注意事项
- 7.1创建gradle项目
spring与RabbitMQ集成
1.中间桥接包
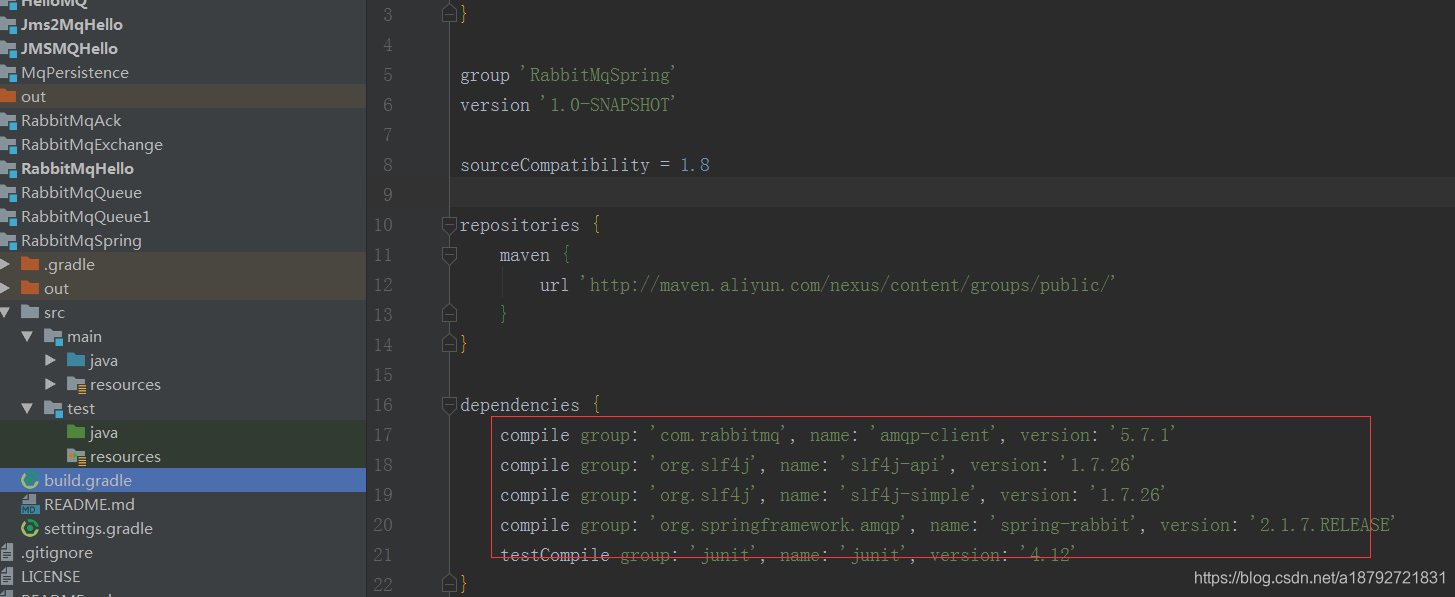
spring与RabbitMq进行集成需要增加中间桥接依赖包:spring-rabbit.
现在最新的版本是2.1.7.RELEASE
2.创建监听
MessageListenerContainer:用来监听容器,为消息入队提供异步处理
3.RabbitTemplate
用来发送和接收消息
4.RabbitAdmin
用来声明队列、交换机、绑定
5.发布
发布需要获取到spring的context然后获取到RabiitTemplate
然后用RabbitTemplate的convertAndSend方法发布消息
6.消费
消费者就是xml中配置的Listener,实现MessageListener接口
实现onMessage方法,onMessage方法中就是接收到消息后调用的回调方法。
7.实例
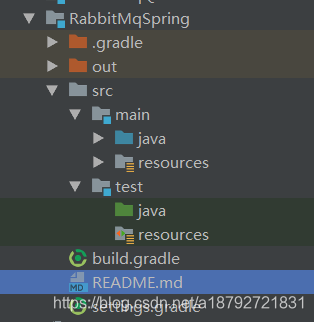
7.1创建gradle项目
7.2增加依赖
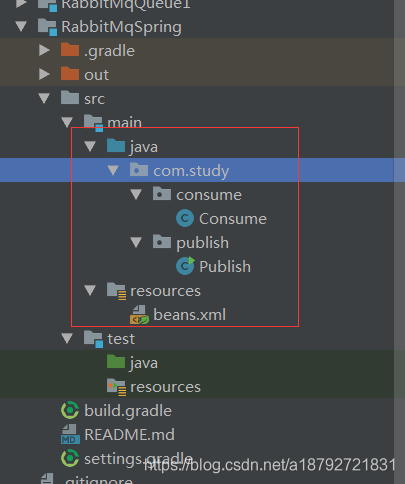
7.3创建代码目录
7.4创建监听类
1
2
3
4
5
6
7
8
9
10
11
12
13
14
15
16
17
18
19
20
21
22
23
24
25
package com.study.consume;

import org.springframework.amqp.core.AcknowledgeMode;
import org.springframework.amqp.core.Message;
import org.springframework.amqp.core.MessageListener;

import java.io.UnsupportedEncodingException;

/**
 * @author jiayq
 */
public class Consume implements MessageListener {
    @Override
    public void onMessage(Message message) {
        try {
            System.out.println("message:\t" + new String(message.getBody(),"utf-8"));
        } catch (UnsupportedEncodingException e) {
            e.printStackTrace();
        }
    }
    @Override
    public void containerAckMode(AcknowledgeMode mode) {
        System.out.println("ackmode:\t" + mode.name());
    }
}
7.5配置beans.xml
1
2
3
4
5
6
7
8
9
10
11
12
13
14
15
16
17
18
19
20
21
22
23
24
25
26
27
28
29
30
<?xml version="1.0" encoding="utf-8"?>
<beans xmlns="http://www.springframework.org/schema/beans"
       xmlns:xsi="http://www.w3.org/2001/XMLSchema-instance"
       xmlns:rabbit="http://www.springframework.org/schema/rabbit"
       xsi:schemaLocation="http://www.springframework.org/schema/beans
       http://www.springframework.org./schema/beans/spring-beans.xsd
       http://www.springframework.org/schema/rabbit
       http://www.springframework.org/schema/rabbit/spring-rabbit.xsd">
    <bean id="fooMessageListener" class="com.study.consume.Consume"/>
    <!-- 配置连接 -->
    <rabbit:connection-factory id="connectionFactory" host="localhost" port="5672" username="guest"
                               password="guest" virtual-host="/" requested-heartbeat="60"/>
    <!-- 配置RabbitTemplate -->
    <rabbit:template id="amqpTemplate" connection-factory="connectionFactory"
                     exchange="spring_exchange" routing-key="spring.hello"/>
    <!-- 配置RabbitAdmin -->
    <rabbit:admin connection-factory="connectionFactory"/>
    <!-- 配置队列名称 -->
    <rabbit:queue name="spring_queue"/>
    <!-- 配置交换机类型 -->
    <rabbit:topic-exchange name="spring_exchange">
        <rabbit:bindings>
            <rabbit:binding pattern="spring.*" queue="spring_queue"/>
        </rabbit:bindings>
    </rabbit:topic-exchange>
    <!-- 配置监听器 -->
    <rabbit:listener-container connection-factory="connectionFactory">
        <rabbit:listener ref="fooMessageListener" queue-names="spring_queue"/>
    </rabbit:listener-container>
</beans>
7.6创建发布
1
2
3
4
5
6
7
8
9
10
11
12
13
14
15
16
17
18
19
20
21
package com.study.publish;

import org.springframework.amqp.rabbit.core.RabbitTemplate;
import org.springframework.context.support.AbstractApplicationContext;
import org.springframework.context.support.ClassPathXmlApplicationContext;

/**
 * @author jiayq
 */
public class Publish {

    public static void main(String[] args) {
        try (
                AbstractApplicationContext abstractApplicationContext =
                        new ClassPathXmlApplicationContext("beans.xml")) {
            RabbitTemplate rabbitTemplate = abstractApplicationContext.getBean(RabbitTemplate.class);
            rabbitTemplate.convertAndSend("hello spring");
        }
    }

}
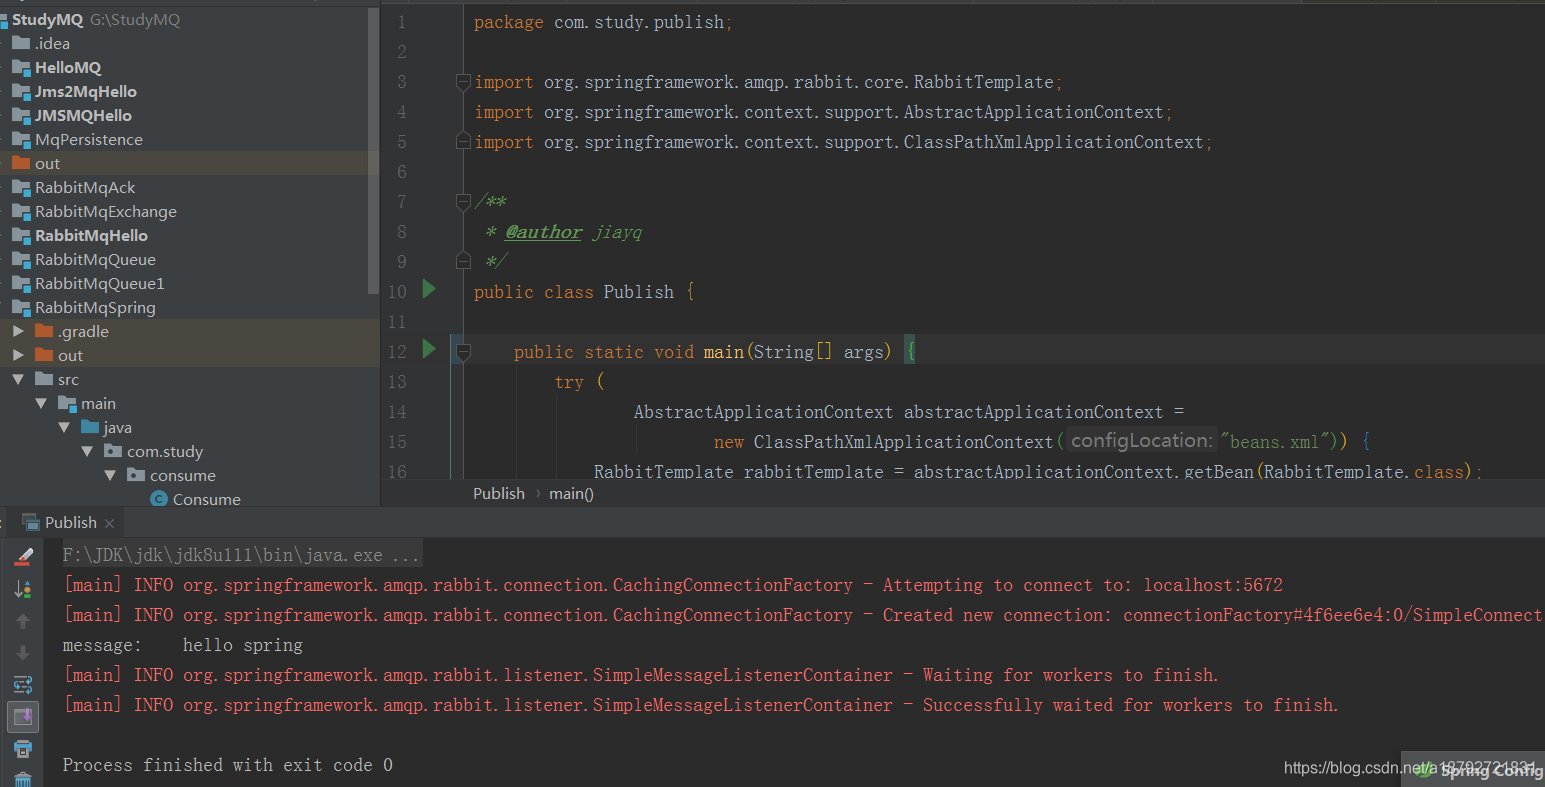
7.7启动
7.8注意事项
- gradle要增加spring-rabbit依赖
- rabbit:connection-factory需要配置MQ服务器的信息,包括id,host,port,username,password,virtual-host,request-heartbeat
- beans.xml要配置交换机以及rount-key(可选)
- 队列名字,队列的属性
- 设置交换机类型
- 监听器就是消费者
本文由作者按照 CC BY 4.0 进行授权